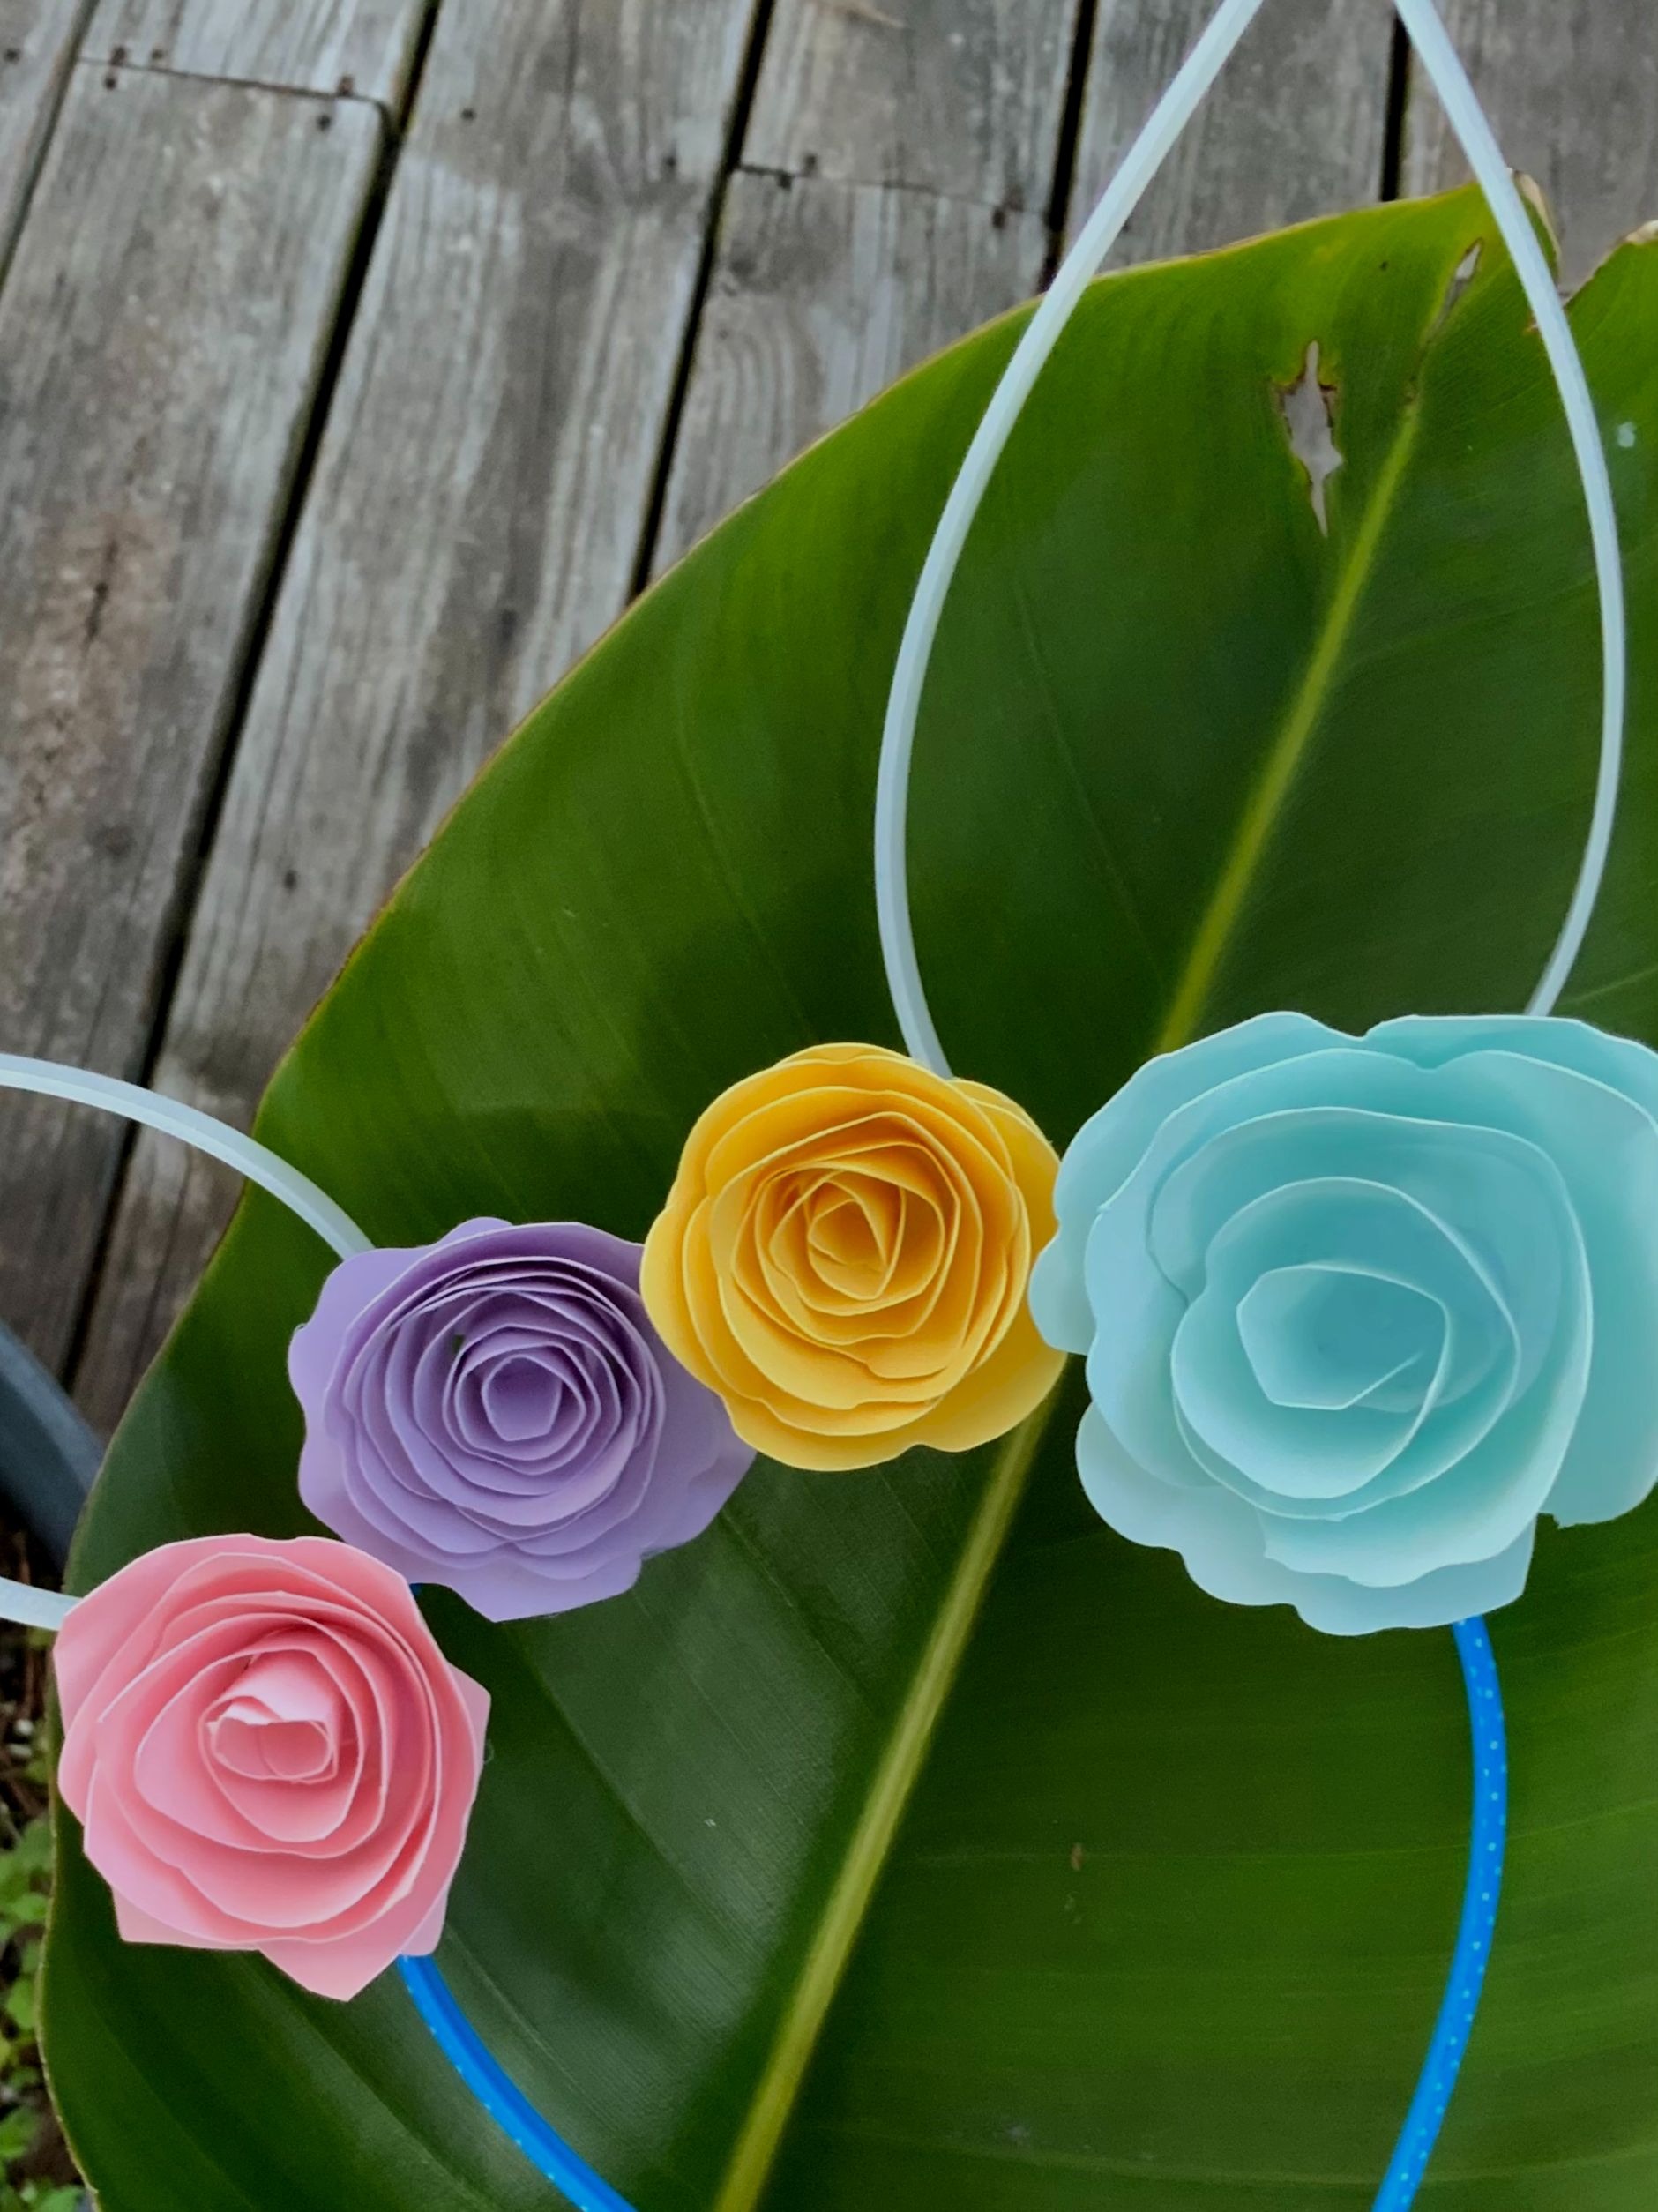
Make This Easy Bunny Ear Easter Headband with 3D Flowers
I’m on a bit of a sugar rush today after discovering my favorite seasonal staple (Cadbury Eggs) were in stock at my local grocery store. This means 2 things: one, I will be stocking up in a big way and two, Easter is just around the corner. To celebrate, I decided to make this easy floral and bunny ear Easter headband.
I love crafts that use only a few simple materials, come together quickly, AND are super cute! This Easter headband definitely fits that criteria. You can throw this festive accessory together in under 20 minutes! It’s a great project to make with kids.
What You’ll Need:
- A thin plastic headband
- Cardstock or felt in Spring or Easter colors
- Hot glue gun
- Two white zip ties
- Craft scissors or a Cricut machine
- Pencil or thin wooden dowel
Make it: Easy Bunny Ear Easter Headband
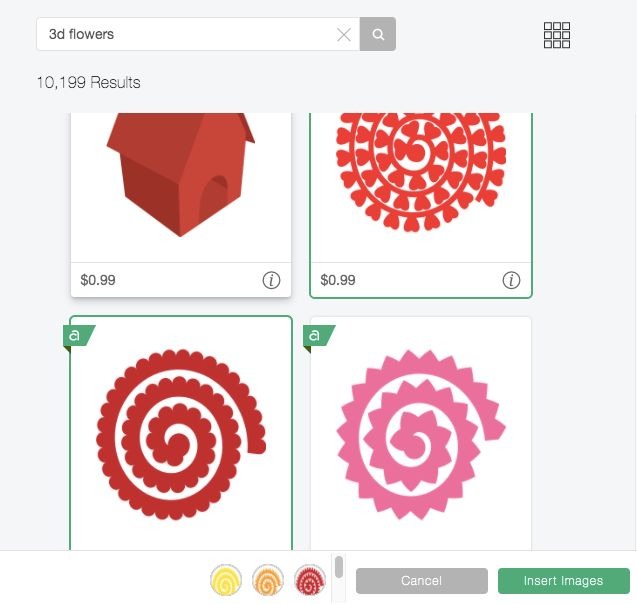
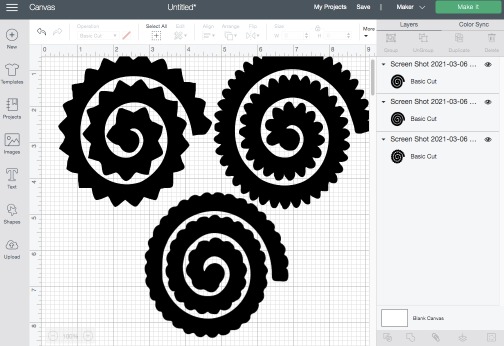
For your flower template, upload your image into your Cricut Design Space or, if you are cutting them out by hand, download and print the images. If you search for 3D flowers in Cricut Design Space or in your search engine, you should be able to easily find templates. Look for spirals with shapes attached to them. (see below) Each shape is. a different flower!
Make it: Zip Tie Ears
Once you have prepped your templates, start building the headband by cutting off the ends of your white zip ties. Place glue on the inside tip of each zip tie. Bring the ends together to form a teardrop (bunny ear) shape. Allow the glue to dry and then attach the wide end of your bunny ear to the headband with another dab of glue.
Make it: 3D Flowers
While the ears are drying, use the template to cut out your card stock or felt to make the flowers. If you have a Cricut machine, you can quickly and easily cut the card stock or felt. If you don’t own a Cricut, you can still cutout the card stock using the template and a good pair of scissors.
Make it: Rolling the Flowers
Using a pencil or thin dowel as a guide , roll the cutout up tightly starting from the outer edge. Once it’s rolled, slide the paper off the pencil and slowly let the paper loosen in your hands until the flower is at the desired size and shape. Place some glue on the tab at the bottom of the flower and hot glue it to the bottom end of the flower. Hold firmly for a few seconds until it is secure.
Finally, glue your flowers to the headband in between your two ears.
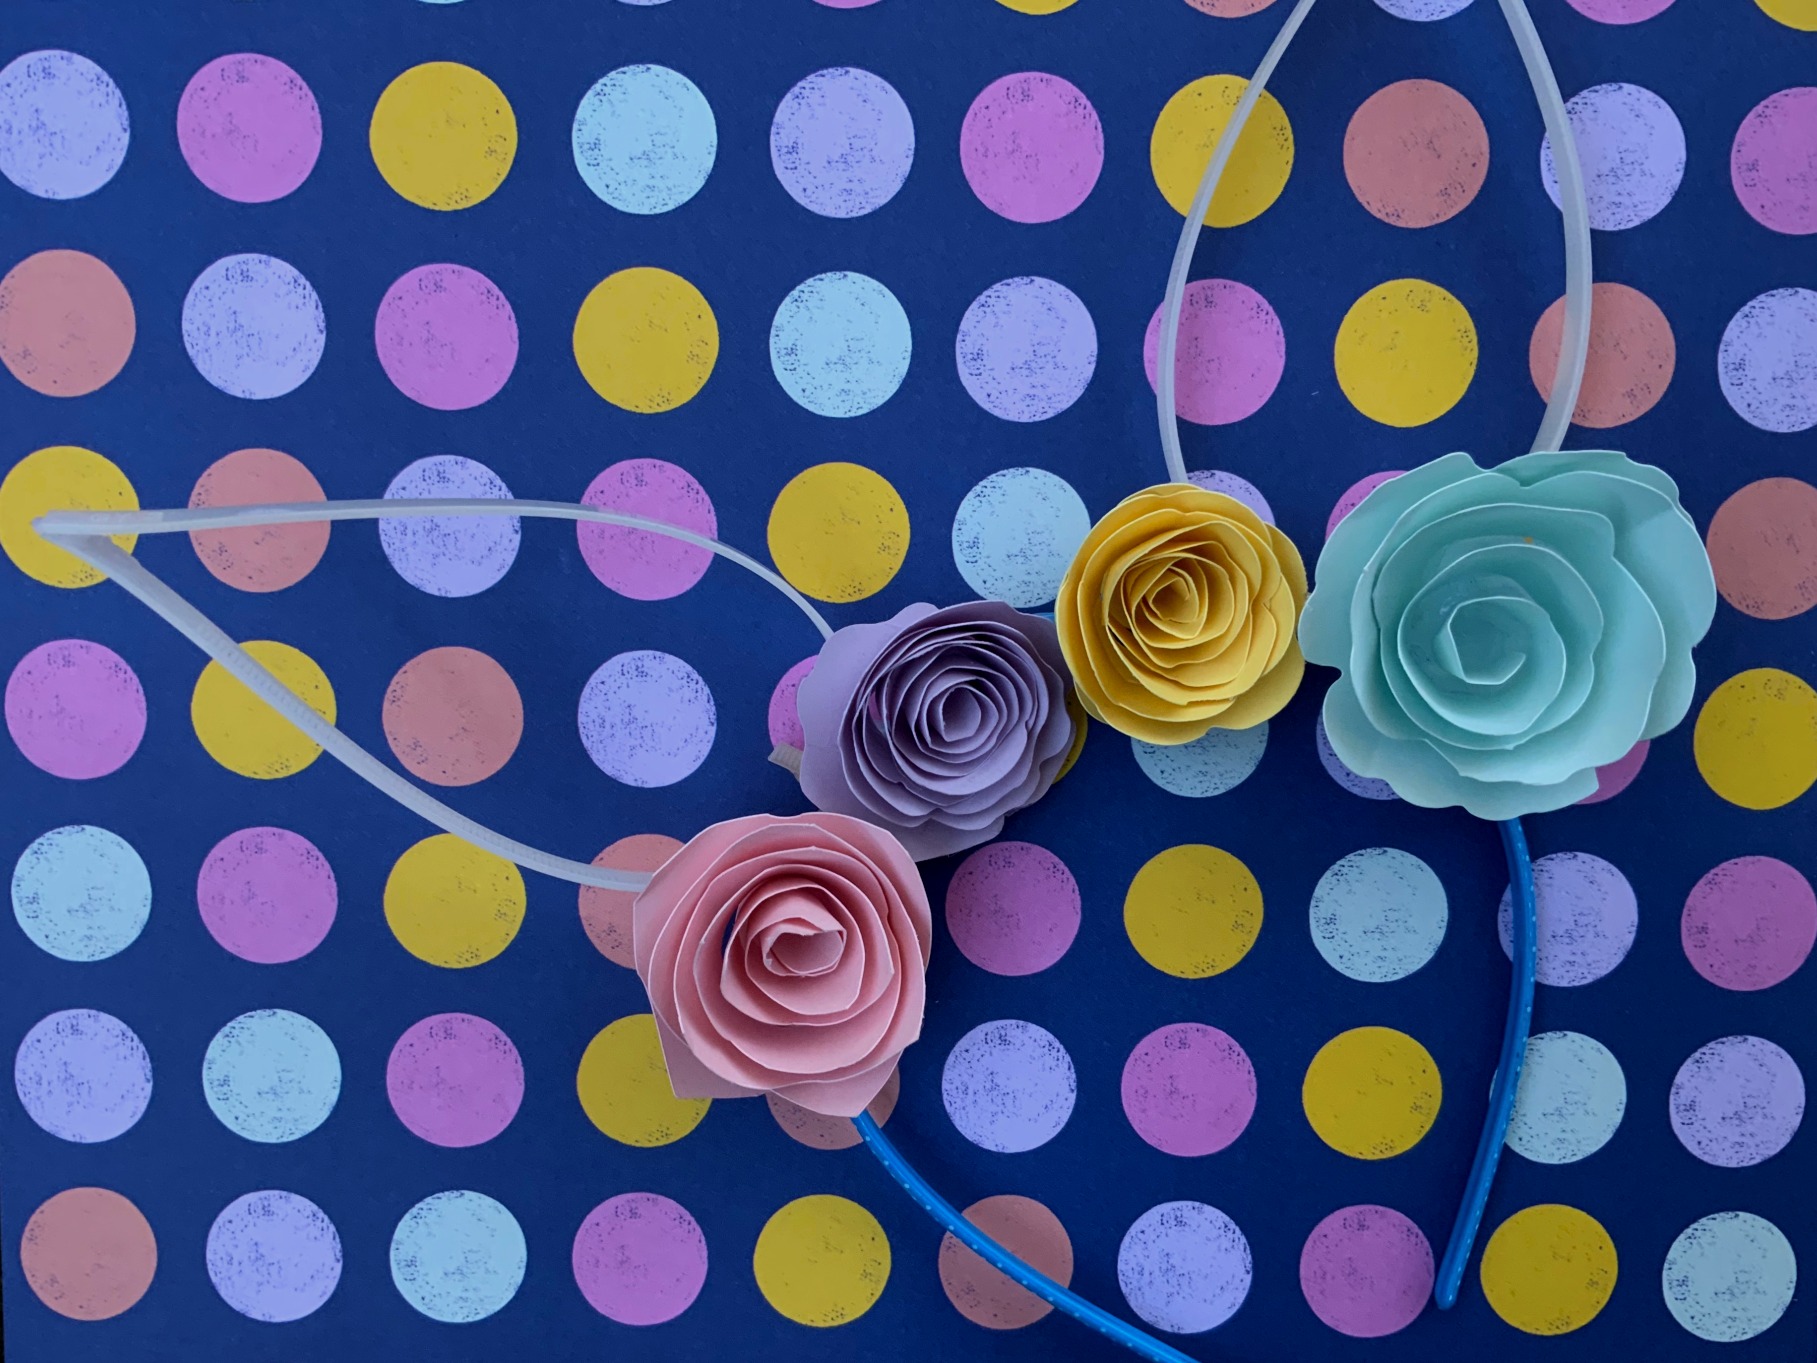
These headbands can be made in any variety of colors. They also make great Easter basket stuffers (to go along with the Cadbury’s of course). I will definitely be sending one to my niece to add to her easter basket this year.
For another cute DIY Easter headband idea, click to see my pompom chick and egg DIY tutorial.