A Big Impact DIY Kitchen Update | Before and After
In one week, I was able to do a DIY kitchen update, which had a big impact on its overall look and feel. Here’s what I did, how I did it, I also answer to the big question: Would I do it again?
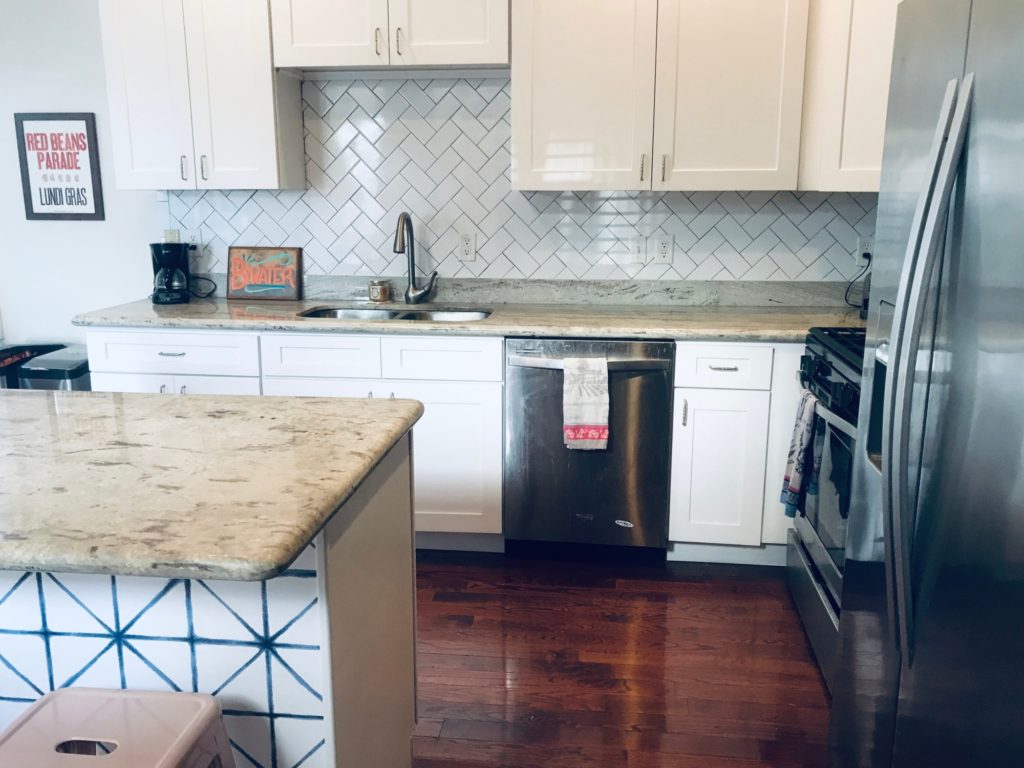
When I think about a modern kitchen, I always think about white subway tile. The clean simple lines are such a classic look that it never seems to go out of style. Subway tiles are also really inexpensive so they’re perfect if you are on a budget..
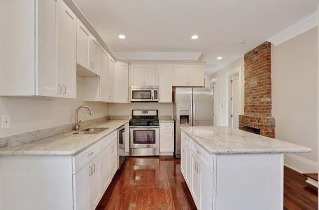
When I bought my new home, I knew right away that I wanted a subway tile backsplash in the kitchen. As you can see in the pictures below, my kitchen started out without any backsplash at all. The kitchen was nice and newly updated but, it definitely lacked personality.

Why DIY?
I had someone come to give us an estimate on laying tile in the kitchen and our upstairs bathroom. The estimate ended up being over $1,000! This price was definitely way over budget for me so I started looking into DIY options.
Like I mentioned before, subway tile is relatively cheap. You can get it for as low as $.0.10 to $0.15 apiece as opposed to some other decorative tiles that run $2 to $3 apiece. I figured I could bring the price of the project down pretty significantly if I did the labor myself.
Choosing Your Pattern and Grout | DIY kitchen update
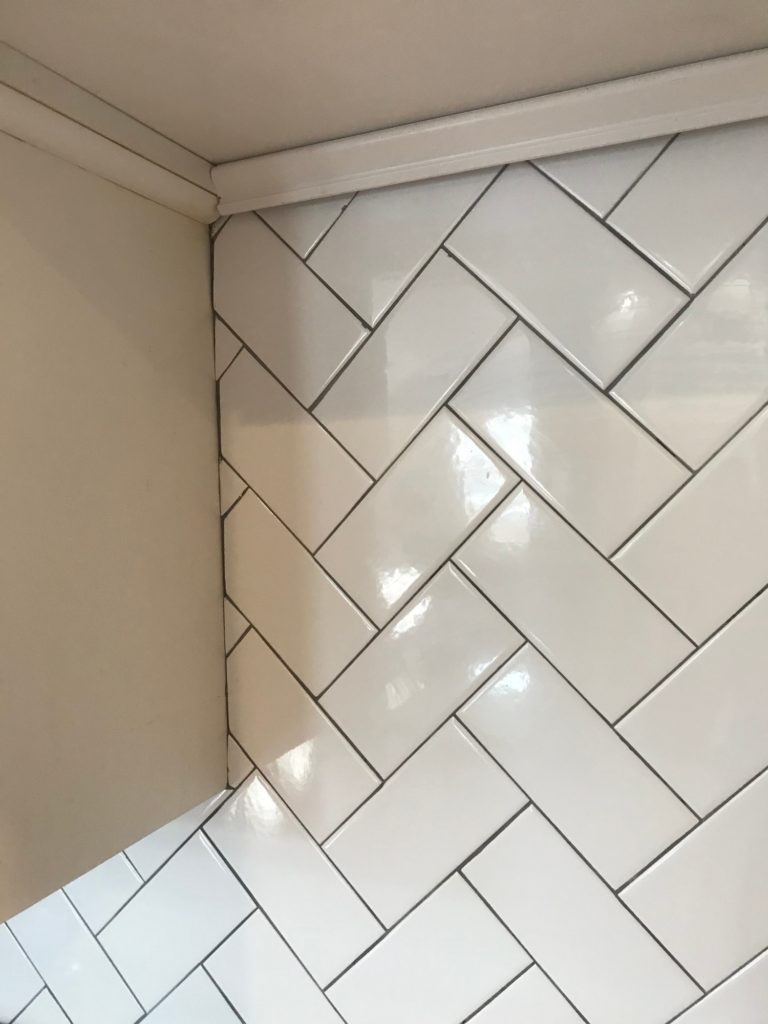
There are a couple of different options you can choose from when installing subway tile. First, you will need to choose the pattern that you want to lay the tiles in. You can do a classic brick pattern, stack them horizontal or vertically or lay them diagonally, just to name a few options. You also need to select your grout color. This is the color that will show in between the tiles. I didn’t want to go too traditional so I chose a herringbone pattern. I also knew wanted contrasting grout so I chose a dark gray.
During this process, I made a few trips to Floor and Decor. They were very helpful in making sure I had the tools I needed. I used a Score and snap tile cutter and a handheld tile cutter to complete the job.
Would I Do It Again?
Let me start this answer off by stressing that this is not an easy DIY to do! On an experience scale, I would put this pretty much near advanced. To complete my backsplash, it took two people working three full days.
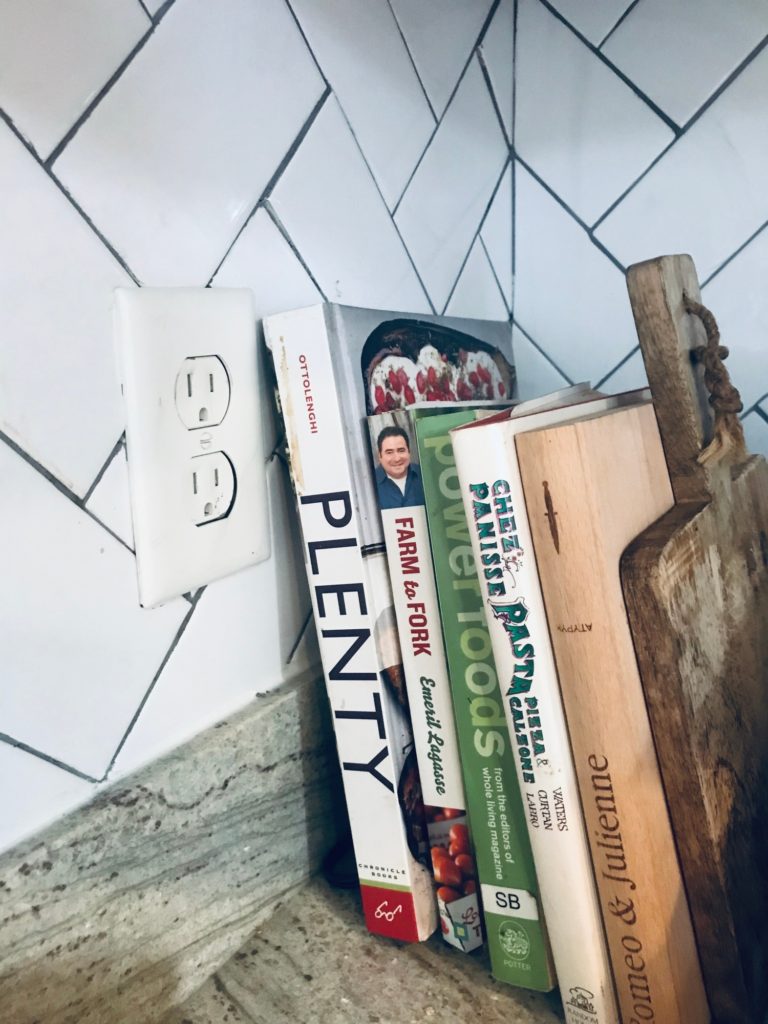
Laying tile definitely takes some precision and a bit of math. When I was putting up my tile, I would place sections that ended up being just slightly off. When this happened I would have to rip it down and start again. You have to be especially patient and precise when dealing with corners that need to match up or small awkward areas like around the outlets or cabinet corners. I definitely ended up with a few imperfections. In fact, I had to add a trim to the top of the tile to hide a few rough cuts.
Overall, I’m pretty pleased with how the tile came out. Of course, it did save me buckets of money. For that reason alone, I’m glad I did the tile myself but, I would be very happy if I never had to tile again!
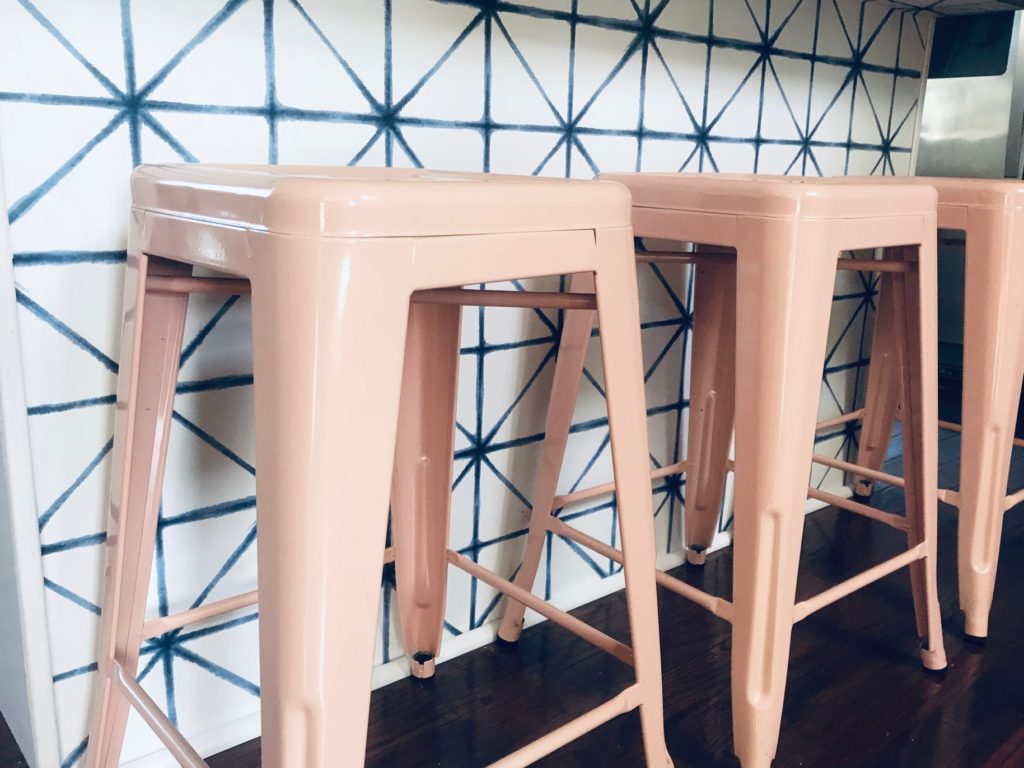
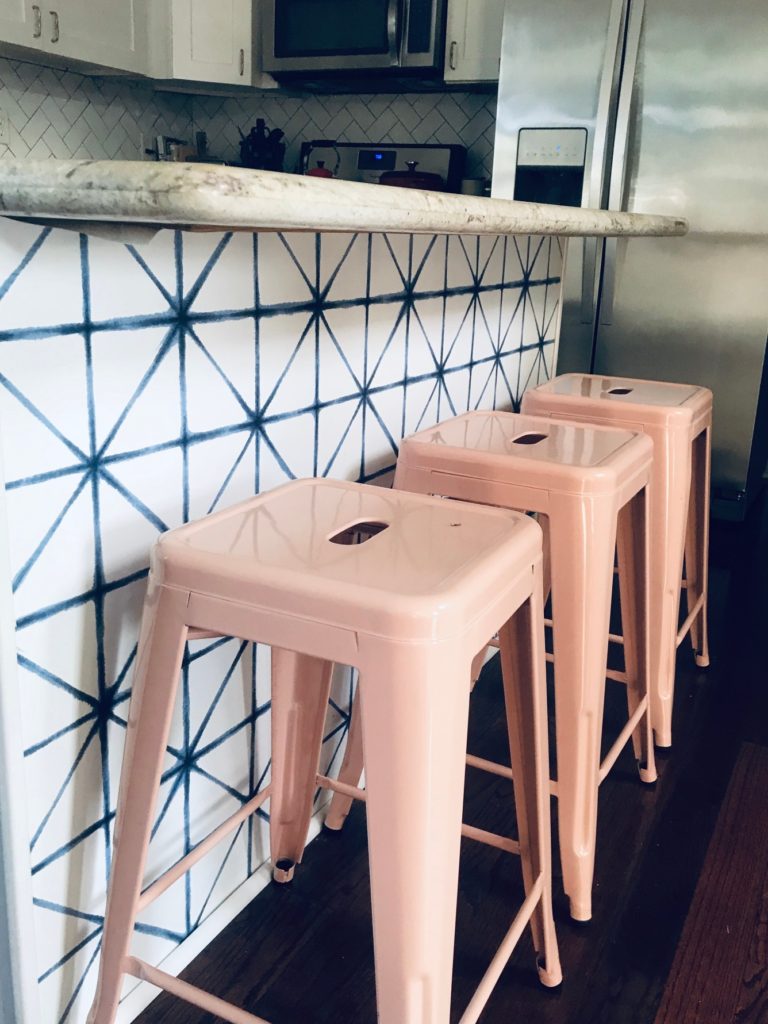
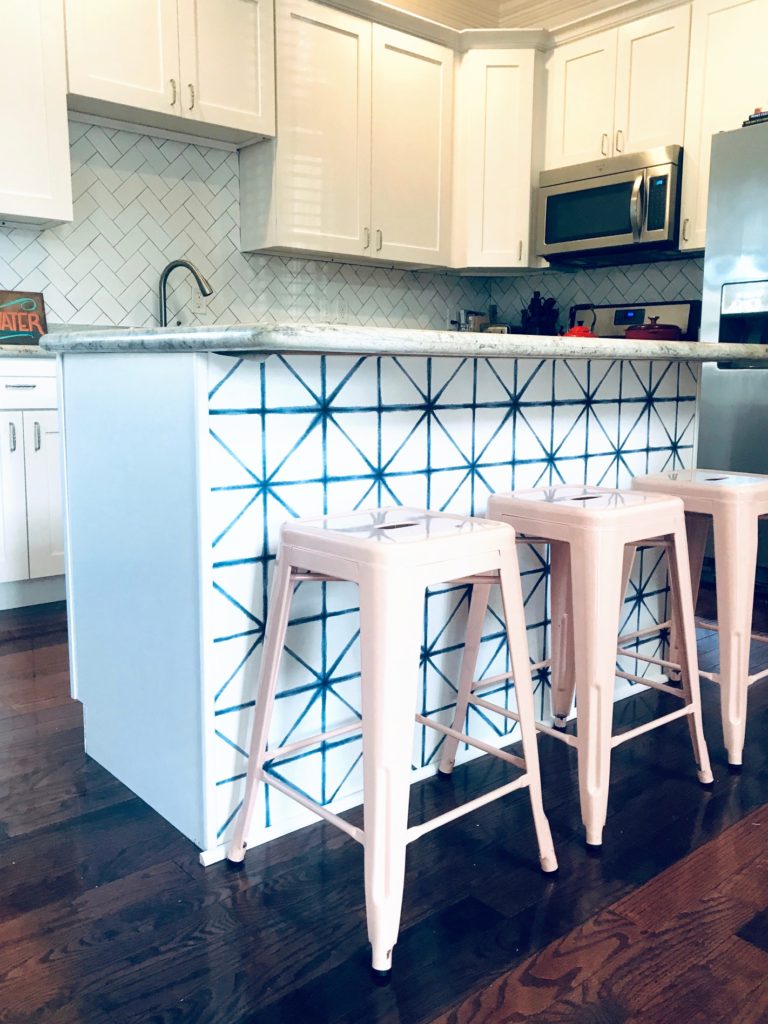
I used to think that wallpaper was outdated and definitely not in line with the modern feel that I wanted for my home. That was until I started to see so many companies we’re coming out with really cool, bold, and, colorful prints. There’s now such a wide variety of prints and styles that you are sure to find one that will make you a believer in adding print to your walls or, in my case, kitchen. island.
I fell in love with the idea of you using wallpaper on the front of the kitchen island at an open house I went to. This house had the cutest accent wallpaper including one on their Island which I thought was so creative and unique!
Why DIY Wallpaper?
Why not?
I can remember my mother wallpapering our upstairs hallway when I was little. She would work after the kids were put to sleep and the process seemed so precise and time-consuming. Mixing wallpaper paste, lining up the patterns, using a Plumb line to make sure everything was straight- it all looked very tedious. These days, removable wallpaper takes a lot of the work and all of the risk out of putting up wallpaper. All you need to do is peel and stick! If you make a mistake applying the paper, you can easily pull it up and re-stick it.
In my experience, it is best to cut the paper to size and to pull the entire backing off before sticking it. This is a bit counterintuitive, but I found that you get the least amount of air bubbles this way. As your putting the paper is down, pull it taut and then smooth out any air bubbles as you go. Since it’s removable, If you ever get tired of having the wallpaper, you should easily be able to pull it up without leaving any residue.
Would I Do It Again?
Yes! Actually, I can’t wait to! The process is super easy and I love the way wallpaper looks. It’s such a fun way to add color and interest to your decor. I got the blue kitchen island wallpaper at Target but I’ve also seen a lot of patterns that I like at. Anthropologie, Rifle Paper Co. and Spoon Flower. They have hundreds of wallpapers to choose from! I also recently discovered Flavor Paper. They have some really bold quirky patterns made by different artists. that include holographic, scratch-and-sniff, and Day-Glo designs!!