
How to Build and Style a Simple Open Shelf Bar
A Bar Suited for Any Sized Space | Open Shelf Bar
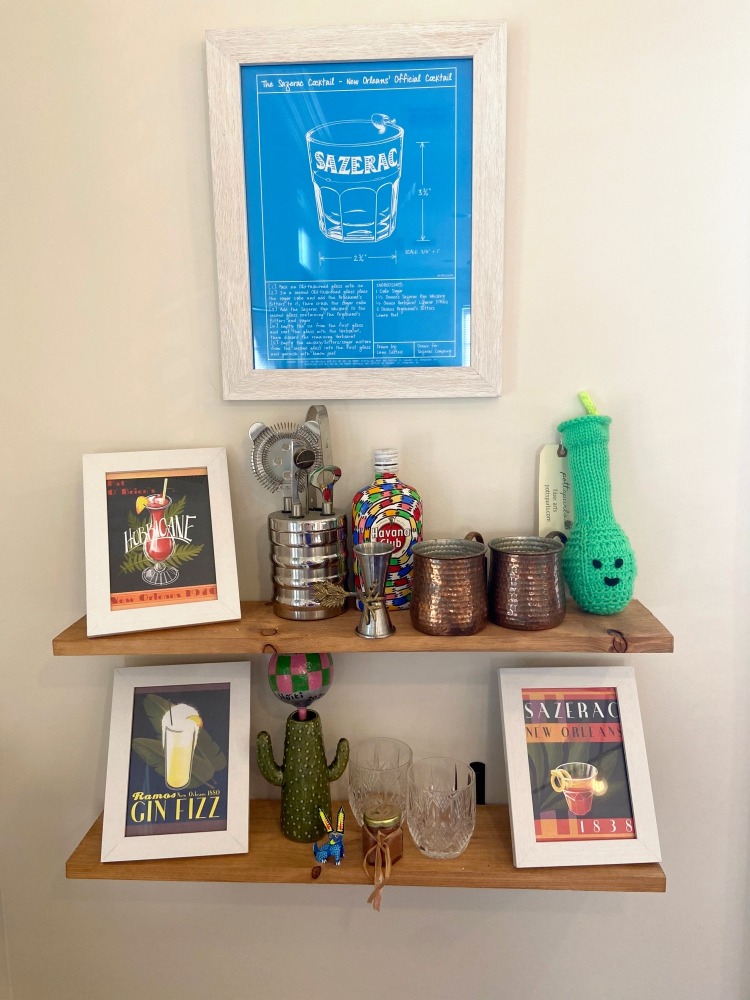
I love to entertain! When I was decorating my first home, I knew I wanted a dedicated spot for hosting friends. I definitely wanted a bar area. Because I have limited space, I decided to go with a wall mounted open shelf bar. The bar now does double duty as both an entertainment are and a space to display some of the treasured items that I have collected here in New Orleans and while traveling.
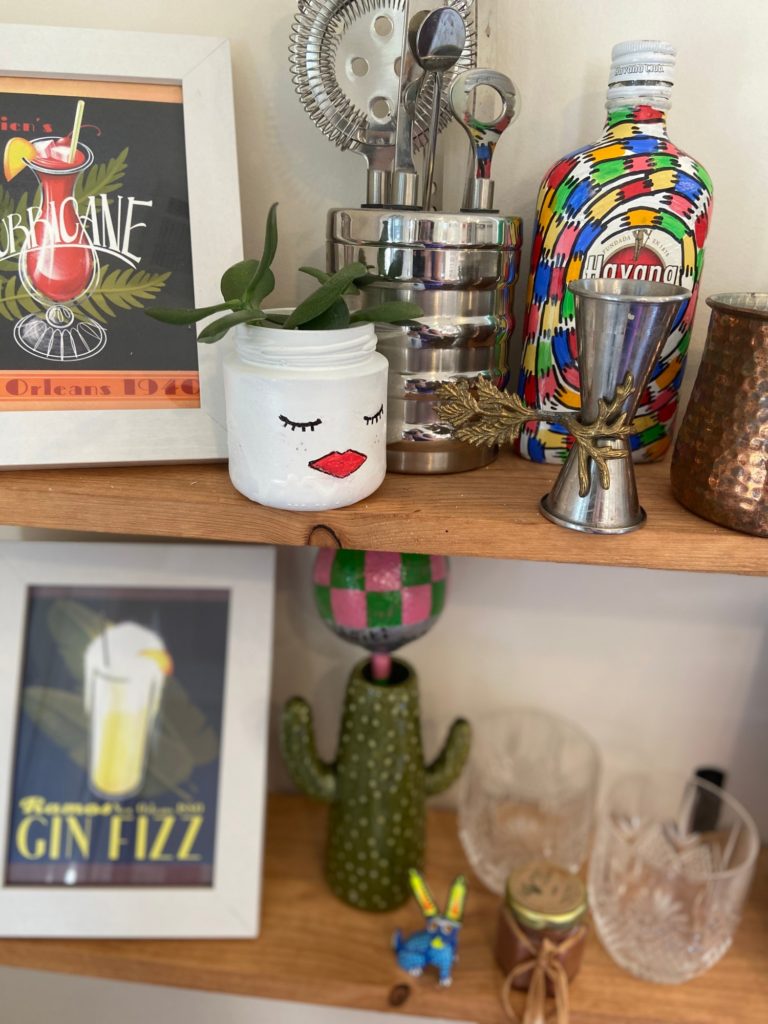
When it came to styling my shelves, I opted to mix in practical bar items like glassware and shakers with art and souvenirs that I enjoy looking. at every day.
I definitely wanted the bar to reflect the fact that we are in New Orleans so I added a few elements celebrating the cities cocktail culture. The large sazerac recipe poster hanging above the shelves was a free give away at Tales of the Cocktail, a yearly event held in New Orleans. Three smaller prints below it feature common New Orleans cocktails. They were purchased at a local art market. You can’t talk about drinks in New Orleans without mentioning the notorious Bourbon street Hand Granade! The green crochet Hand Granade was made by local artist Megan of Pottspurls. I think it adds a major element of whimsey to the bar set up.

Style it
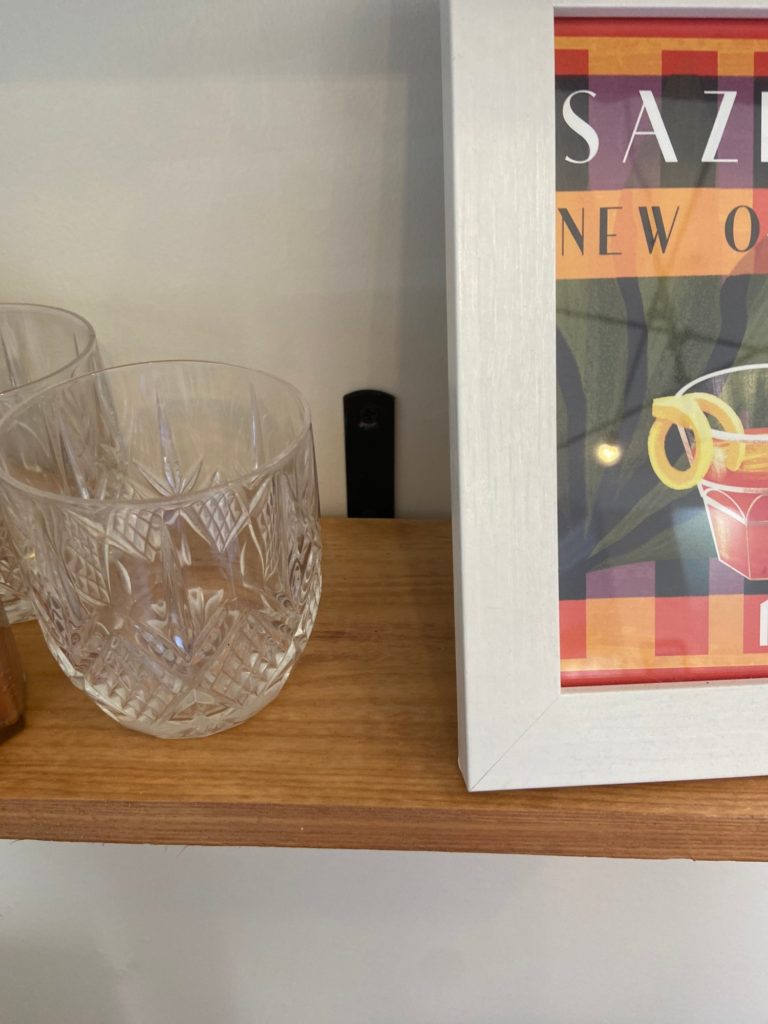
Some of the other items I used to style the bar area are a drink mixing set, (vintage) and a metal jigger (Anthropologie). I conveniently placed glassware for two household favorites:, whiskey and Moscow Mules (William Sonoma). A musical shaker that was a throw from a Haitian Mardi Gras marching group sits in a cactus vase. A hand-painted pop-art animal figure that was a gift from Mexico, and a hand-painted Havana Club rum bottle brought back from my trip to Cuba are two other prized items. I also placed the up-cycled DIY face planter that I made with some Jade cuttings inside of it.
What You’ll Need:
- L shaped Shelf brackets
- 1×6 wood board
- Saw or precut to size at the hardware store
- Sand paper
- Wood stain (I used this one)
- Drill
- Stud finder
- Measuring tape
- Wall anchors (if you are not drilling into a stud)
- Level

Build it
The process of making these shelves is really simple and I was able to knock it out in one afternoon. First, cut your wood (or have the hardware store do it for you) to the desired length. Next, sand down the ends, stain the wood and allow the shelves to dry completely.
Once dry, use your stud finder and measuring tape to locate your studs and to mark the areas where your brackets will go. I spaced my shelves about 10 inches apart. If you can’t find studs in the area where you want to hang your shelves, you will need to use wall anchors.
Using a level to make sure that the shelves are even, drill the long end of the bracket into the wall. Once the brackets are secure, add the wooden boards to the top, and double-check that they are level. Then, from the underside of the bracket. drill the short end of the bracket up into the boards. The shelves should now be secure and ready for the best part: adding a personal touch and styling them!
I love this. I am always looking for decor tipa. Thanks for sharing.