
How to Make Spooky, Marbled, Halloween Candles
This weekend, I started to go full force with the Halloween decorations. I made “spooky,” marbled, Halloween candles as an addition to the DIY Day of the Dead Candle Holders . It feels like I’m slowly transforming my house into a haunted mansion and I love it!
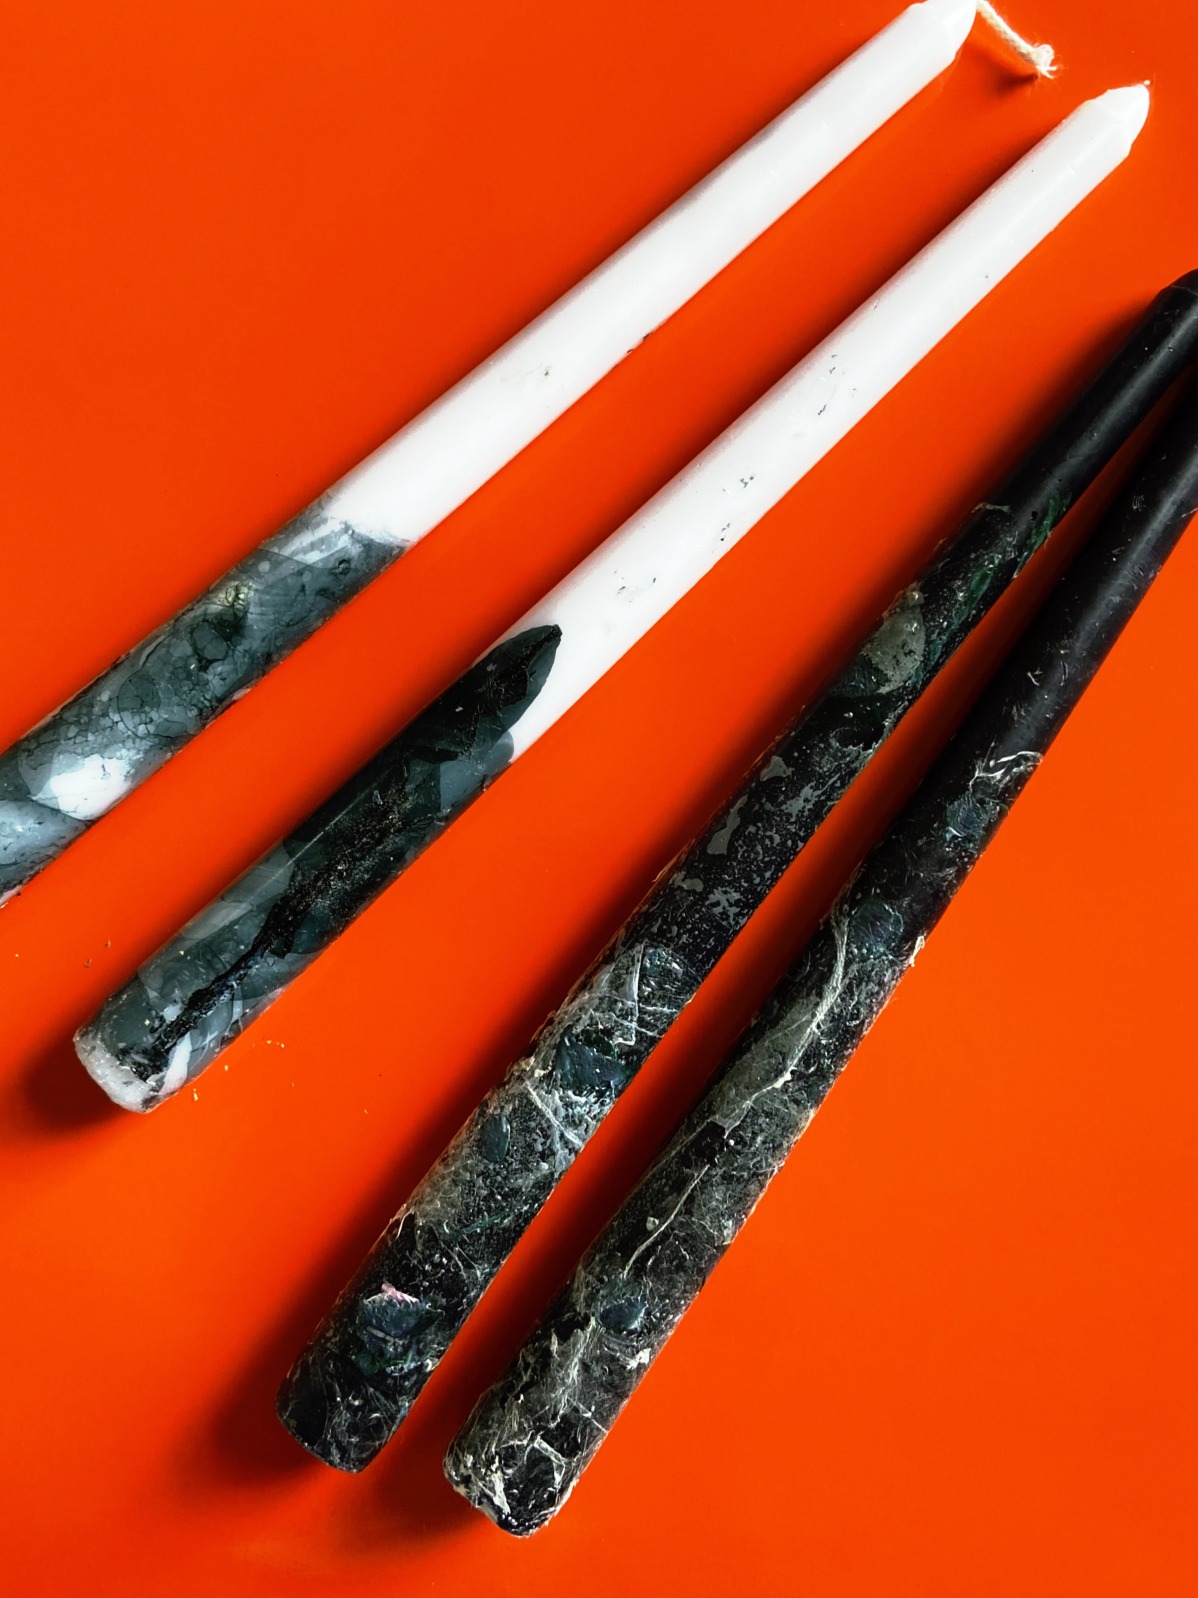
I used two different types of colored candles (black and white) and used the opposite color of paint to marble them. The white candle came out in more of a traditional marbled pattern. The black candle turned out to have more streaks of white. It makes it almost look like it is coated in spider webs. This finish turns out to be perfect for Halloween.
When dipping the candles you should use enamel paint which is more or less the same as nail polish. Using nail polish is super convenient because most people have it laying around the house. However, you may need to experiment a little bit to see which brands work best.
What You’ll Need:
- Tapered candles in black and/or white
- Shallow tin container
- corn starch
- Black and white nail polish
- toothpicks

Start by filling up your aluminum tin with hot water and a good helping of cornstarch. The cornstarch will help the nail polish float on the surface of the water. Slowly pour out some nail polish onto the top of the water and swirl with a toothpick to create a marbled pattern. You should work quickly before the nail polish has a chance to dry.
Dip the bottom half of the candle into the water and turn it slowly until it is fully covered in nail polish paint. Then take the candle out and prop it up to dry.
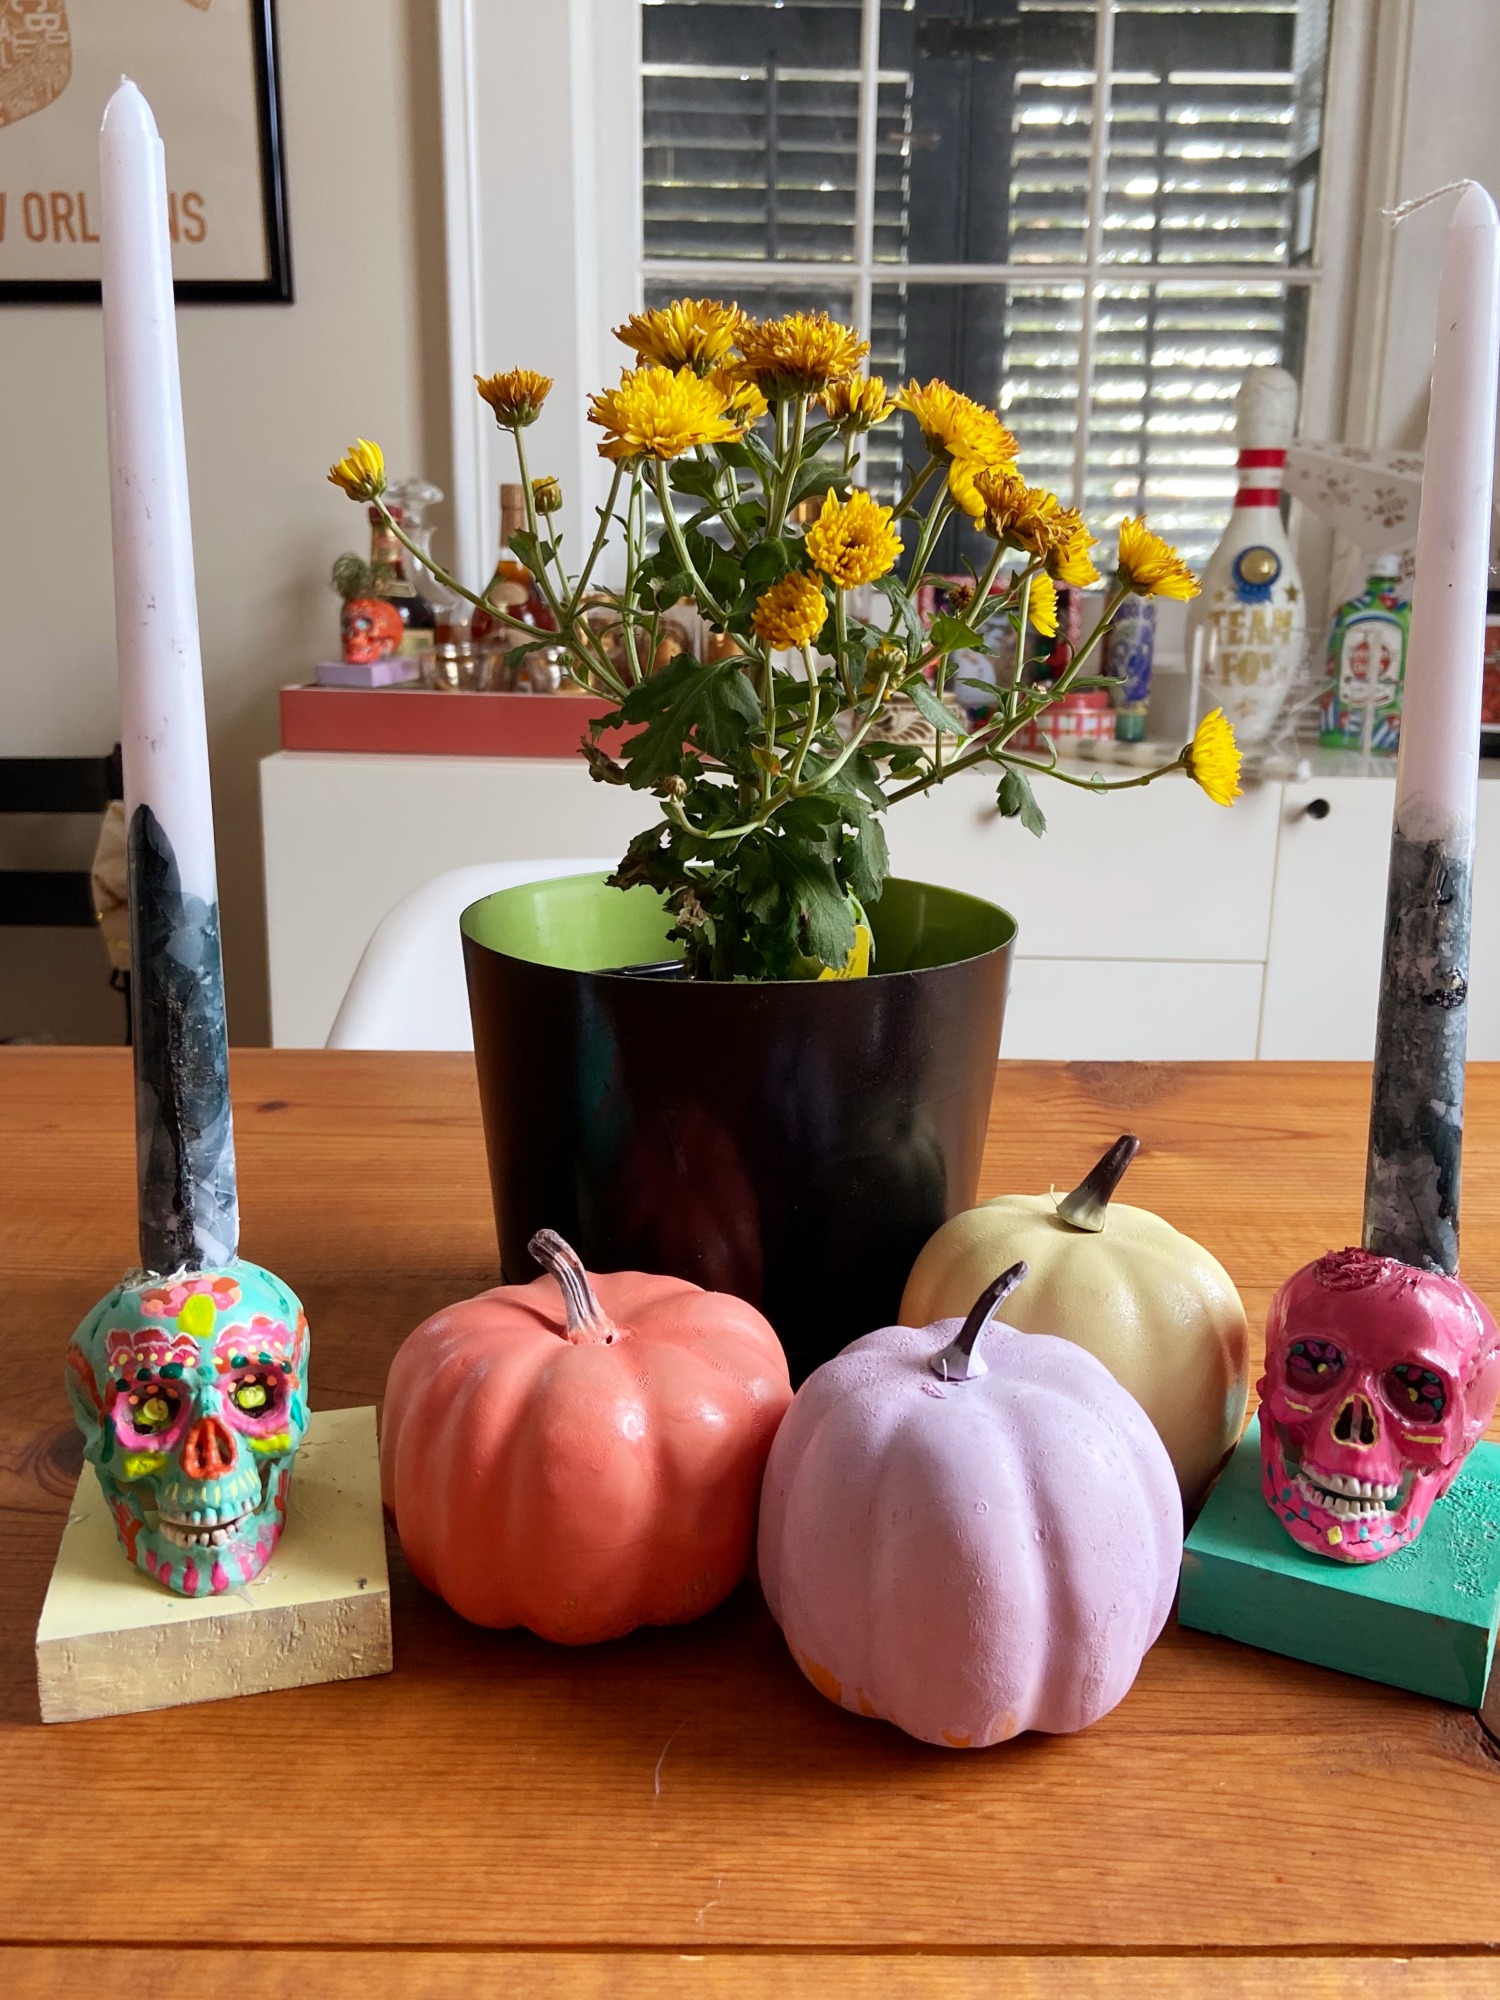
I absolutely love the way these Halloween candles look in the skull base. In fact, my decorations are starting to develop a bit of a skull theme. To see how I incorporated the skulls into a Halloween wreath, click here.

These are so cool and very elegant! I have a friend who would love something like this for her general home decor haha.